Light microscopy isn’t only restricted to, well, light. There are a variety of methods which can be used to completely change the way you view a sample in some very cool and interesting ways. This list will start cheap, getting progressively more expensive as we go down:
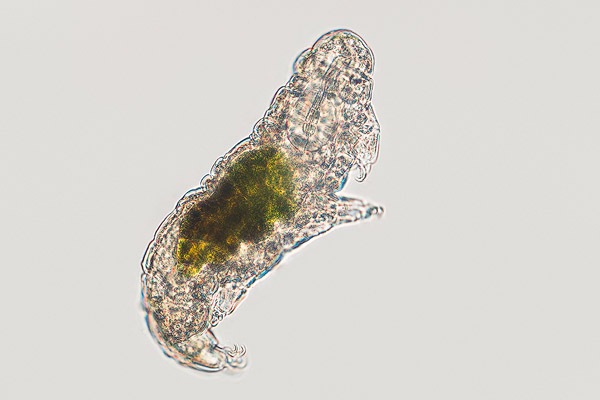
1. Brightfield – This is your standard light microscopy method. Light passing through your sample, from a halogen, LED, or tungsten bulb, giving an image with a light-coloured background. The key is in the name, this method is BRIGHT, shining light directly through whatever it is you’re trying to view. As such, the key features of your organism will be visible i.e. membranes, cytoplasm, but organelles may be difficult to distinguish. Stains are often used to help visualise certain organisms, like bacteria, but coloured organisms like algae from pond samples should be easy to distinguish.
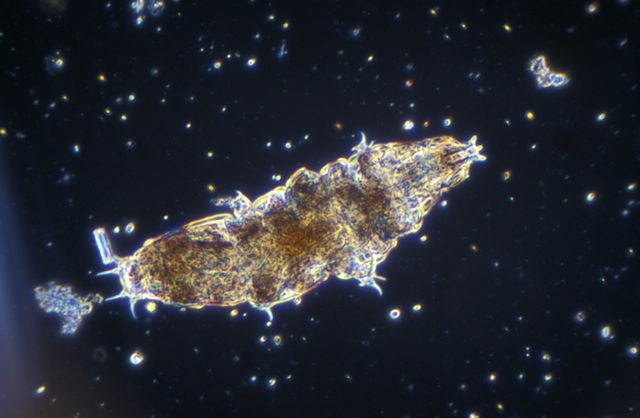
2. Darkfield – Darkfield microscopy not only looks very pretty, but is very useful for viewing organisms which brightfield struggles to make out. Darkfield is achieved when light hits a sample at an oblique angle, rather than passing directly through. This can be done by placing a very simple and cheap filter over the condenser, or alternatively using a specialised darkfield condenser. One major benefit of darkfield is that stains are not required to view your samples, saving a lot of time and keeping whatever you’re viewing alive. Another benefit is the increase in contrast. However, your samples will need to be thin and free from dust or other contaminants to stop distortion and glare.
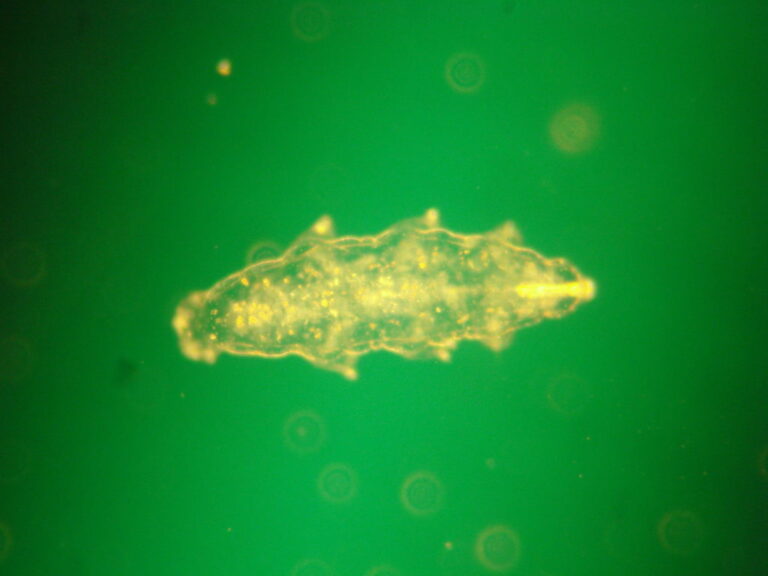
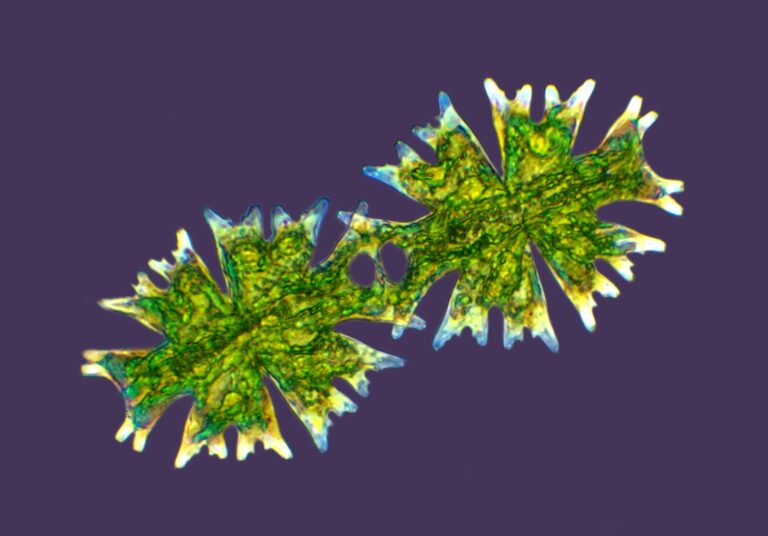
3. Rheinberg Filters – Rheinberg filters create another beautiful way to observe speciments. These are just as cheap and just as simple as a darkfield filter, but with plenty more colour. Rheinberg filters come in the form of coloured discs, which determine the background colour (center) and specimen colour (outer). They can also keep the center clear, allowing a coloured sample on a white background. As such, Rheinberg filters are a form of optical staining. There’s a large variety of filters out there, with some truly changing the entire experience of microscopy. I really don’t understand why new microscope companies don’t include these.
4. Phase Contrast – Sounds cool doesn’t it? It is really cool. Unfortunately, phase contrast is quite expensive, but it’s definitely something to aspire to and is not unattainable. I’ll ignore the physics, far better explained elsewhere; phase contrast requires a specialised condenser, eyepieces, and objectives that are suited for this technique, this is the pricey bit. What you get though, is a live sample full of contrast, allowing easy observation of organelles, higher resolution, and the ability to watch a paramecium disco. This is close to the peak of light microscopy, as far as hobbyists typically go.
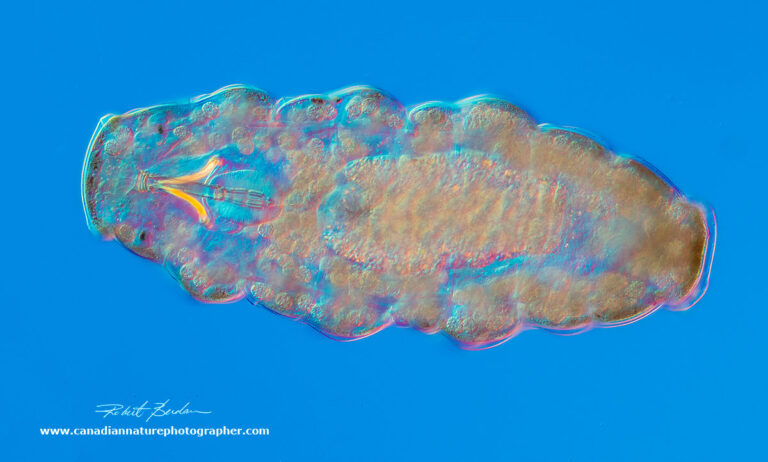
5. DIC – Differential interference microscopy. You want more contrast?! The best of the best, DIC produces a higher resolution image than phase contrast, it can also be used in conjunction with other techniques like darkfield and oblique lighting, creating the most versatile method of viewing samples. Unfortunately, DIC is extremely expensive to configure on a microscope. As such, I don’t have enough knowledge on DIC to reliably share here, other than its beauty. Maybe someday :).
If you’d like to know about these methods in a far more more in-depth (and professional) manner, PLEASE check out Dr. Robert Berdan’s website, The Canadian Nature Photographer. Not only does he produce some of the best microscopy images across an array of techniques, he also provides plenty of guides and a collection of great articles showcasing the wonderful hobby of microscopy:
https://www.canadiannaturephotographer.com/index.html